Chapter 5
Saving Your Skin
Blisters and foot care
Blisters are the most common injury in hiking and the most preventable. They have exactly three ingredients, friction, moisture, heat, and every defense in this chapter removes one of them. Master this small domestic science and you remove the single most likely thing to ruin your first season. Ignore it and your feet will teach it to you anyway, at a much less convenient time.
Why Blisters Happen
A blister is a friction burn in slow motion: repeated rubbing shears the skin’s layers apart, and the body pumps fluid into the gap to protect the tissue underneath.
The mechanics explain every prevention rule. Friction comes from movement, a heel lifting in a loose boot, a foot sliding forward on descents, a seam pressing one spot for miles. Moisture softens skin dramatically, letting the layers shear at a fraction of the normal force; this is why sweaty cotton socks are a blister factory and why “keep feet dry” is half the game. Heat amplifies both. Remove any ingredient and the recipe fails, dry feet in well-fitted footwear can walk almost indefinitely; damp feet in a sloppy boot can blister inside an hour.
New hikers blister more, and not only from new boots: unhardened skin shears more easily. The first weeks of hiking literally toughen your feet, which is one more argument for Chapter 1’s short-hikes-first progression.
Hot Spots: The Five-Minute Rule
A hot spot, any specific place on your foot that feels warm, tender, or “noticed”, is a blister in its larval stage. The rule: stop within five minutes and treat it. Not at the overlook. Not at lunch.
This is the highest-yield habit in foot care, and the one beginners resist because stopping feels like losing momentum. Run the arithmetic instead: taping a hot spot costs five minutes; a formed blister costs the rest of the hike, and often the next one too. Group dynamics are the real enemy here, nobody wants to halt the column over a warm pinky toe. Halt the column. Any group worth hiking with treats a hot-spot stop as routine maintenance, like a snack break with first aid.
Treatment is simple: dry the foot, smooth the sock, and cover the spot with tape or moleskin generously margined. While you’re down there, ask why, grit in the sock? Heel lifting? Lace pressure? Fix the cause or the tape is just a countdown timer.
How to Prevent Blisters When Hiking
Prevention stacks five cheap habits: footwear that fits, non-cotton socks, dry feet, pre-taping known trouble spots, and toughened skin from regular walking.
- Fit first. Chapter 3’s fitting rules, planted heel, thumb-width toe room, no pinch points, are the foundation; no tape can rescue a wrong-shaped boot.
- Socks that wick. Merino or synthetic, snug, seam-aware. Change into the spare pair when feet get damp.
- Manage moisture. Air feet at long breaks; dry socks at lunch on wet days; consider a foot-powder or anti-chafe balm if you sweat heavily, both attack the moisture ingredient directly.
- Pre-tape your known spots. If your left heel always complains, tape it at the trailhead, before mile zero. Veterans tape like it’s part of getting dressed.
- Toughen gradually. Regular short hikes harden skin at the exact contact points your footwear creates. Marathon debuts skip this step and pay for it.
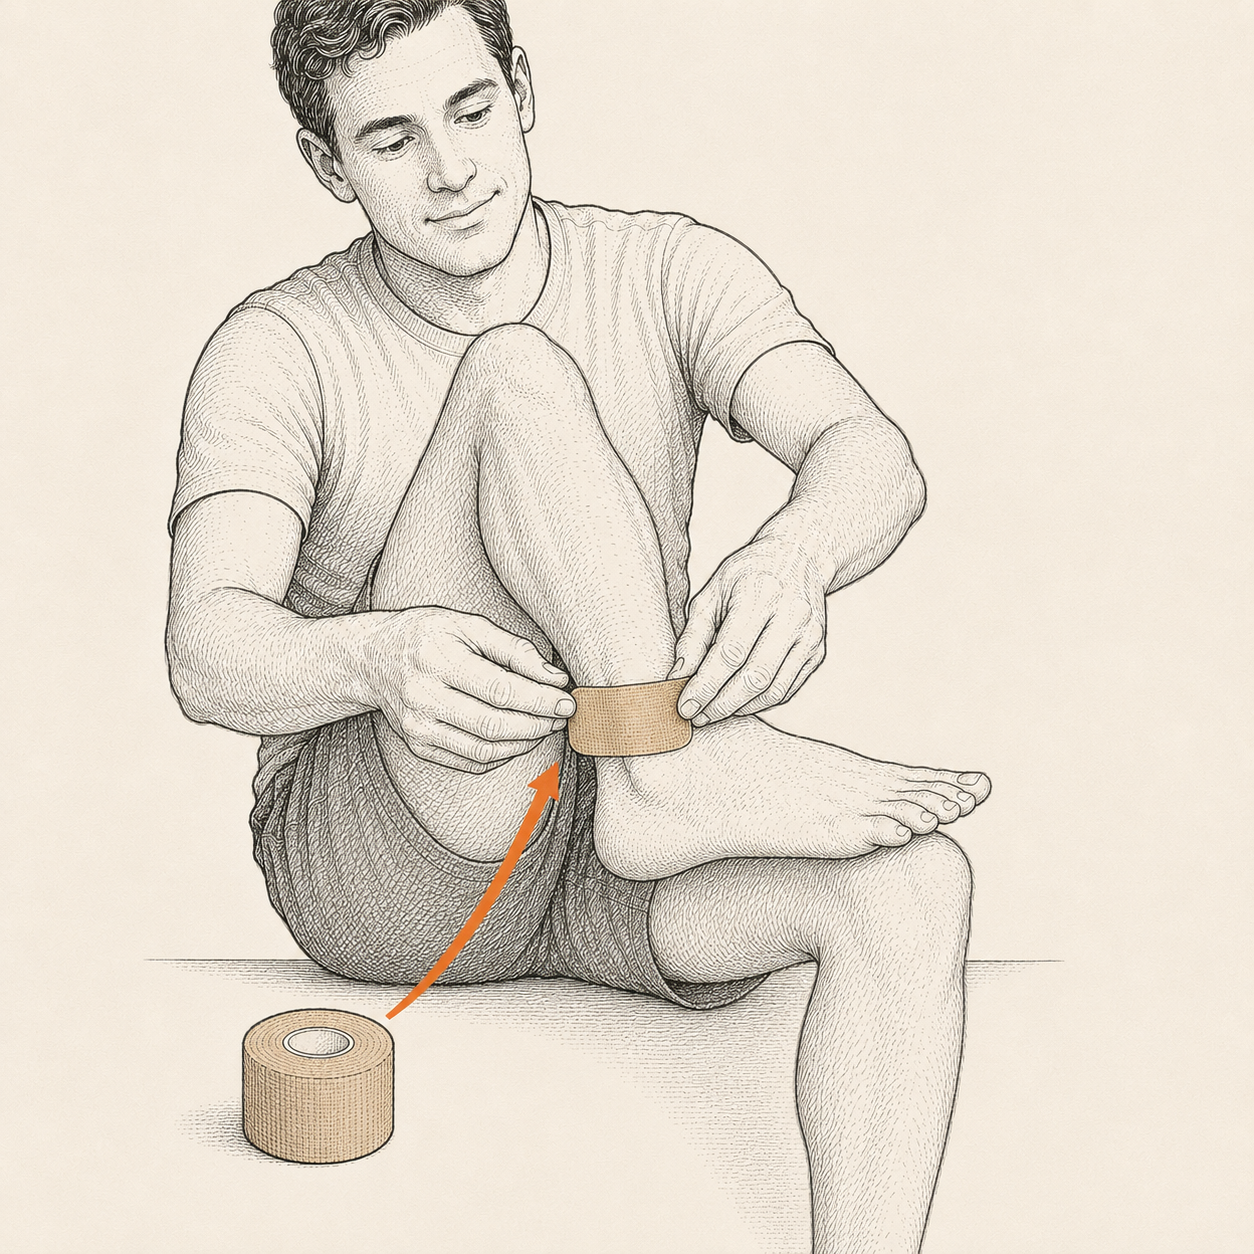
The Taping Kit: Moleskin, Leukotape, and Friends
Carry a small dedicated blister kit: moleskin or an equivalent padded patch, a roll or pre-cut strips of rigid sports tape (Leukotape is the trail favorite), small scissors, alcohol wipes, and a needle.
Each tool has a role. Moleskin, soft padded felt with adhesive backing, cushions hot spots and, cut into a donut, unloads pressure from a formed blister. Leukotape (a rigid zinc-oxide sports tape) has become the modern standard for pre-taping and hot spots: it’s thin, immensely sticky, and stays put through sweat and miles that peel lesser tapes. Blister-specific hydrocolloid bandages cushion and moist-heal a deroofed blister and are worth a couple of slots in the kit. Regular adhesive bandages, by contrast, migrate off a working foot within the hour, carry them for cuts, not friction.
Technique notes that matter: apply tape to dry skin (an alcohol wipe helps it bond), round the corners of every patch so edges don’t catch the sock and peel, and lay tape smooth, a wrinkle in the fix becomes its own hot spot, which is the kind of irony feet specialize in.
How to Treat a Blister on the Trail
Small and unbroken: cushion it and leave it sealed. Large, painful, or certain to burst: drain it at the edge with a sterilized needle, keep the roof of skin intact, then dress and pad it.
The intact skin over a blister is a sterile natural bandage, the default is always to preserve it. Walk through the decision:
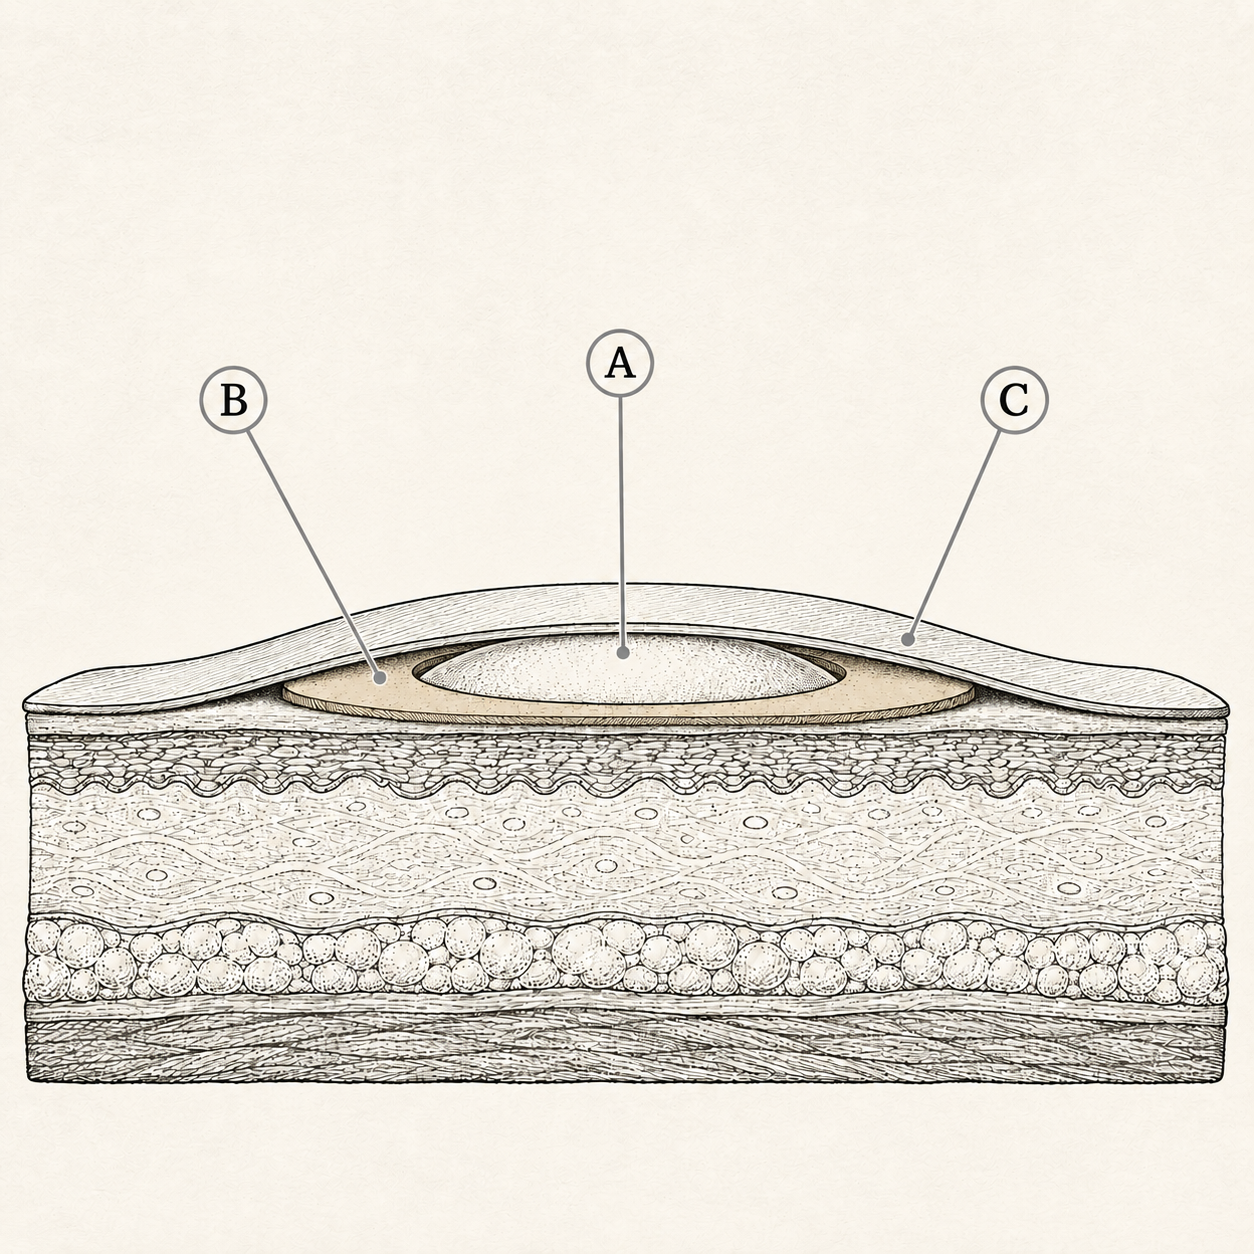
- Intact and tolerable? Don’t puncture. Cut a moleskin donut, a ring with a hole the blister peeks through, so pressure lands on the felt, not the bubble. Tape over the whole assembly. Done.
- Big, throbbing, or doomed to rupture in the boot? Controlled draining beats a ragged blowout at mile nine. Sterilize a needle with an alcohol wipe or a match flame. Puncture once or twice at the blister’s edge, low, where sock pressure will keep fluid moving out. Press gently with clean gauze until flat. Leave the roof of skin in place, never trim it off.
- Dress it. A dab of antibiotic ointment if you carry it, a non-stick pad or hydrocolloid over the site, donut pad if pressure remains, tape over everything, corners rounded.
- Already torn open? Clean it with treated water, lay the skin flap back down flat if it survives, and dress as above. This one gets monitored (next section).
Safety Never drain a blister that sits on top of a suspected deeper injury, and be conservative with any foot wound if you have diabetes or poor circulation, for those feet, even small blisters warrant real medical attention rather than trail surgery.
Blister Care After the Hike
At home: wash the site, air it out, keep drained blisters covered with a clean dressing until new skin forms, and watch for infection, spreading redness, swelling, pus, red streaking, or fever means a medical visit, not more tape.
Feet heal fast when you let them. Skip the boot for a day or two, let the site breathe at night, and re-dress before the next outing. If the same spot blisters on every hike, stop treating symptoms: something structural, boot shape, lacing, sock, gait, is prosecuting the same case each trip, and Chapter 3’s fit checklist is the cross-examination. A stubborn repeat offender occasionally justifies professional help; running stores and podiatrists have seen your foot before.
Toenails and Other Maintenance
Trim toenails short and straight across a day or two before any long hike, long nails hammer the boot front on descents, and the resulting bruised black nail is hiking’s second-most-common foot injury after blisters.
The rest of the routine is small and worth it. Shake grit out of shoes and socks at breaks, a crumb of granite does astonishing mileage damage. Address chafing anywhere (not just feet) with the same balm-and-cover logic. And at day’s end in camp or car, give feet the inspection your dentist wishes you gave teeth: hot spots, tender nails, damp skin between toes. Two minutes of attention buys tomorrow’s miles. Feet are the whole transmission of this sport; maintenance is cheaper than repairs, every single time.
Trail Notes
- Blisters = friction + moisture + heat. Every defense removes an ingredient.
- Hot spots get treated within five minutes, wherever you are. This is the highest-yield habit in foot care.
- Prevention stack: fitted footwear, wicking socks, dry feet, pre-taping known spots, gradually toughened skin.
- Kit: moleskin, Leukotape (or equivalent rigid tape), hydrocolloids, scissors, alcohol wipes, needle.
- Intact blisters stay sealed under a donut pad; drain only large/painful ones, at the edge, roof left on.
- Infection signs, spreading redness, pus, streaking, fever, end the DIY chapter and start the medical one.
Rookie Mistakes
- Hiking through a hot spot because stopping felt awkward. Five minutes now or five miles of limping later.
- Popping every blister on sight. The skin roof is the best bandage you own; removal is the last resort, not the reflex.
- Trimming the roof off a drained blister. Now it’s an open wound with a sock on it.
- Flat bandages on a working foot. They migrate within the hour. Rigid tape and rounded corners or nothing.
- New-boot debut on the long hike, Chapter 3 said it, but feet keep the receipts, so it bears repeating.
FAQ
Should I put Vaseline on my feet before a hike? Anti-chafe balms and petroleum jelly do reduce friction and have loyal users, especially among runners. The trade: grease attracts grit and complicates taping. Most hikers get further with the dry-and-tape system, wicking socks plus pre-taping trouble spots, and save balm for chafe-prone areas elsewhere.
Does baby powder prevent blisters? It attacks the moisture ingredient, and for heavy sweaters it can help, briefly. Powder cakes as it absorbs, and caked powder is grit. If you use it, reapply at sock changes. A dedicated foot powder or, better, a second dry sock pair does the same job with less residue.
What is the best blister tape for hiking? Leukotape P is the trail consensus: rigid, thin, and aggressively adhesive, it survives sweaty descents that peel everything else. Kinesiology tape is a gentler second for sensitive skin. Whatever you carry, the technique constants are dry skin, smooth application, rounded corners.
When should you not pop a blister? Whenever it’s small, unbroken, and tolerable under a donut pad, intact skin is sterile protection. Also never: blood blisters (puncturing risks deeper infection), any blister over a suspected deeper injury, and any foot compromised by diabetes or poor circulation. Those get padding and a professional.
Why do I only get blisters on descents? Downhill drives your foot forward into the boot front while your heel unweights, shear city. Fixes, in order: lace a heel-lock at the top eyelets, snug (don’t strangle) the forefoot, trim toenails, shorten your downhill stride. If toes still hit the front on a ramp test, the boot is too short.
Read offline
The whole book as one PDF — every chapter, every diagram.