Chapter 14
Paper Trails
Permits, weather, and trip plans
You have the skills and the gear; now comes the part that happens before you ever lace up, the planning that turns a vague “let’s go backpacking” into a specific, safe, permitted trip. Part III is about the work at the kitchen table: choosing where to go, sorting the paperwork, reading the sky, and telling someone your plan. Done well, it’s most of what separates a smooth first overnight from a stressful one.
How to Plan a Backpacking Trip
Plan a first backpacking trip in a logical order: pick a modest, well-traveled route close to home; check what permits and reservations it requires; study the terrain, water, and weather; then build a simple day-by-day plan and leave it with someone. Start conservative, you can always be more ambitious next time.
The whole chapter expands that sentence, but the meta-lesson is start small on purpose. Your first overnight should be a short, forgiving trip, a few miles to an established campsite, ideally somewhere popular enough that help and other hikers are nearby. Ambition is the enemy of a good first trip; the goal is to test yourself and your gear with low stakes, learn what you don’t yet know, and come home wanting more. Chapter 24 lays out a model first overnight in detail; this chapter builds the planning skills that trip (and every one after) depends on.
Choosing Your First Route
Choose a first overnight that’s short (a few miles in), low on elevation gain, on a well-marked and reasonably popular trail, with a known water source and established campsites. Save the remote, hard, and spectacular for when you’ve got a few trips under your belt.
The ingredients of a forgiving first route:
- Short distance. Two to six miles (3–10 km) to your campsite. You’ll be slower with a full pack than you expect, and you want daylight and energy to spare for making camp.
- Modest climbing. A first overnight is not the time for a brutal ascent. Gentle grades let you enjoy it.
- Well-marked and popular. Signed junctions, an obvious trail, and other people around mean a wrong turn or a problem is low-stakes. Solitude is a reward you earn later.
- Reliable water. An established source near camp means less water weight and one less thing to worry about (treat it, Chapter 11).
- Established campsites. A designated or obviously-used site takes the guesswork out of where to sleep and keeps your impact low (Chapter 21).
Find candidate routes the same way you found day hikes (Chapter 1): trail apps, guidebooks, land-agency websites, and, invaluably, recent trip reports and rangers who know current conditions. Read the recent reports especially: they tell you about snow, water levels, bugs, closures, and trail damage that a map never will.
Permits and Reservations
Many popular backcountry areas require a permit to camp overnight, and the most sought-after ones require reservations, often booked weeks or months in advance through official systems. Research your area’s specific requirements early, because a great plan is worthless if you can’t get the permit.
Permits exist to manage impact and crowding, and the system varies enormously by location. Some areas need nothing; some require a free self-issued permit you fill out at the trailhead; some require a paid reserved permit with a strict quota that sells out the moment it opens. Research this first, because it can dictate your whole timeline. Where to look: the managing agency’s website (national parks, national forests, and other public lands each run their own systems), and the central reservation portal many U.S. public lands use for bookings. Key questions to answer early: Is a permit required? Is it reserved or first-come? When and where do reservations open (popular permits vanish in minutes)? Is there a quota or group-size limit? Are there specific designated campsites you must use? Sort this weeks ahead for any popular destination, and have a backup route in case the permit doesn’t come through.
Legal note Camping without a required permit, or outside designated areas where they’re mandated, can carry real fines and damages the access that permits are designed to protect. This isn’t red tape to route around, it’s part of keeping wild places open and healthy. Always confirm and carry the permit your trip requires.
Reading the Weather
Check the mountain weather forecast for your specific route and elevation in the days before and the morning of your trip, and know that conditions in the high country differ sharply from the valley below. Be ready to change or cancel your plans for dangerous weather.
Mountain weather is its own animal: colder, windier, wetter, and faster-changing than the lowlands, and it can turn a pleasant trip hazardous in an hour (Chapter 22 covers the hazards themselves). Get a mountain-specific forecast, general city forecasts don’t capture what happens at elevation. Look for point forecasts for your actual coordinates and elevation, and read for the things that matter to a backpacker: precipitation, temperature (including overnight lows at your camp’s elevation, not the trailhead’s), wind, and especially thunderstorm potential, which in many mountain ranges builds predictably in summer afternoons. Check several days out to spot trends, and again the morning you leave. And build the most important weather skill of all: the willingness to change or cancel. A backpacking trip is not worth hiking into a dangerous storm. The mountains keep their schedule; reschedule yours around them.
Building a Simple Itinerary
Make a simple day-by-day plan: where you’ll start, roughly how far you’ll hike each day, where you’ll camp each night, and where your water sources are. Keep first-trip daily distances short, plan less than you think you can do.
You don’t need a minute-by-minute schedule, just a clear skeleton:
- Trailhead and start time. Where you begin and when, early enough to reach camp with daylight to spare.
- Daily distances and camps. How far each day and where you’ll sleep. Use Naismith’s rule (Chapter 1) plus extra time for the full pack, and plan short, 4–8 miles (6–13 km) a day is plenty for a first backpacking trip, and less is fine.
- Water points. Mark where you’ll refill, so you carry only what you need between sources (Chapter 11).
- Bail-out options. Note any shorter exits or alternate routes in case weather, injury, or fatigue means cutting the trip short. An easy out is a gift you give your future self.
Write it down. This itinerary isn’t just for you, it’s the core of the trip plan you’ll leave with someone, and it’s what turns “somewhere in the mountains” into a findable, followable plan.
Leaving a Trip Plan
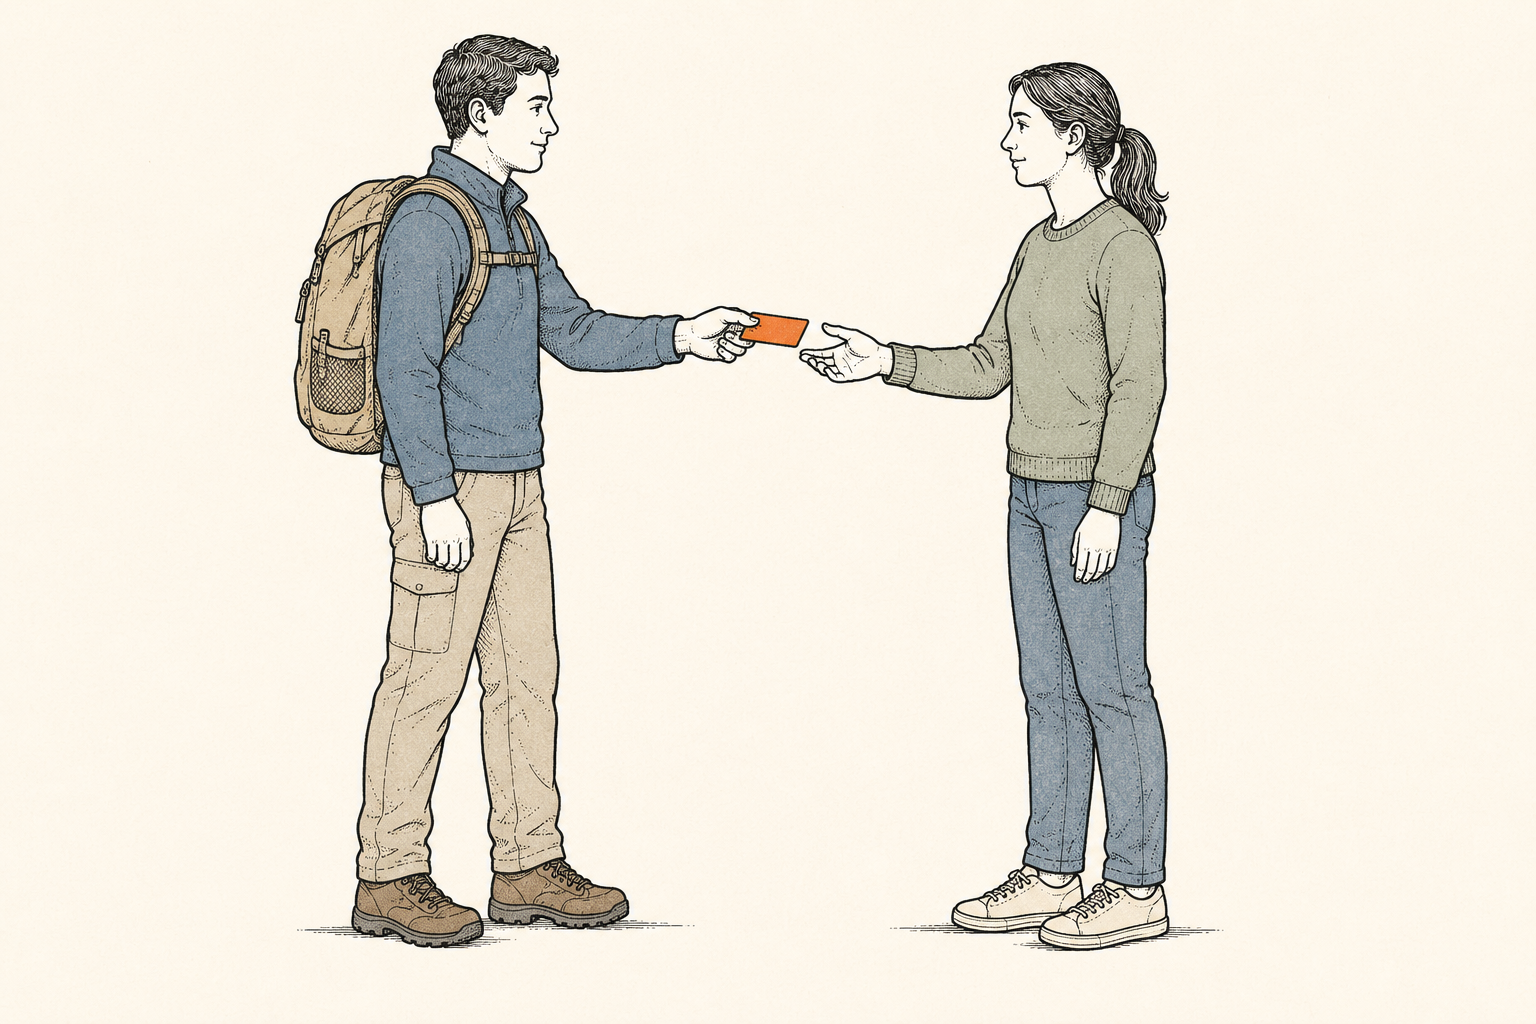
Always leave a written trip plan with a trusted person who isn’t on the trip: where you’re going, your route, where you’ll camp, when you’ll be back, and when they should call for help if they haven’t heard from you. This is the single most important safety step in backpacking.
If something goes wrong and you can’t call for help yourself, this plan is what launches a rescue to the right place at the right time, the difference between a search that finds you in hours and one that doesn’t know where to look. Include: your name and vehicle (and where it’s parked), your exact route and campsites, your start and expected return times, the number of people in your group, and, crucially, a “call for help by” time: if they haven’t heard from you by then, they contact the authorities. Give them the managing agency’s or local sheriff’s number, since that’s who runs backcountry rescues. Then honor it: check in when you say you will, and if your plans change mid-trip in a way you can communicate, update them. A trip plan only works if you stick to it.
Timing and Logistics
Sort the practical logistics before you go: how you’ll get to the trailhead and park, when the trailhead access is open (some roads are seasonal or gated), group coordination, and a realistic start time that gets you to camp with daylight to spare.
The unglamorous details derail more trips than the dramatic ones. Confirm trailhead access, some access roads close seasonally, require high clearance, or need their own parking pass or reservation. Plan parking (and secure your vehicle, don’t leave valuables visible; more in Chapter 23). Coordinate the group: who’s bringing what, who’s driving, when you’re meeting. And set a realistic start time working backward from when you need to be at camp, using your itinerary’s distances and pace, arriving with two hours of daylight to spare turns making camp from a frantic race into a relaxed routine. Rushed arrivals in fading light are where first-trip mistakes cluster; give yourself the margin.
Trail Notes
- Plan in order: modest close-to-home route → permits/reservations → terrain, water, weather → simple itinerary → trip plan left with someone.
- First route: short (2–6 mi / 3–10 km to camp), low climb, well-marked, popular, reliable water, established sites.
- Research permits first, some require reservations booked weeks or months ahead and sell out fast. Camping without a required permit carries real fines.
- Get a mountain-specific forecast for your route’s elevation; read overnight lows and thunderstorm potential; be willing to change or cancel.
- Plan short daily distances (4–8 mi / 6–13 km) and note water points and bail-out options.
- Leave a written trip plan with a “call for help by” time. It’s the most important safety step there is.
Rookie Mistakes
- Planning the trip before checking the permit. The perfect route you can’t get a permit for isn’t a plan. Check paperwork first.
- Using a valley forecast for a mountain trip. The high country is colder, windier, and stormier. Get the point forecast for your elevation.
- Over-ambitious first mileage. A full pack makes everything slower and harder. Plan short; arrive with daylight to spare.
- Telling no one, or telling them vaguely. “Somewhere in the mountains this weekend” can’t launch a rescue. Leave a specific written plan with a deadline.
- Ignoring trailhead logistics. A gated road or full lot ends a trip in the parking area. Confirm access and parking ahead.
FAQ
How do I plan my first backpacking trip? Pick a short, well-traveled route close to home with modest climbing, reliable water, and established campsites; check and secure any required permits; study the terrain and a mountain-specific forecast; build a simple day-by-day itinerary with short distances; and leave a written trip plan with someone. Start conservative, a low-stakes first trip teaches you the most.
Do I need a permit to go backpacking? Often, yes, many popular backcountry areas require overnight permits, and the most sought-after require reservations booked weeks or months ahead. Requirements vary entirely by location, so research the managing agency’s rules early. Camping without a required permit can bring fines and harms the access permits protect. Always confirm and carry what your trip needs.
How many miles should I hike per day backpacking? For a first trip, plan short, about 4 to 8 miles (6–13 km) per day, and less is perfectly fine. A loaded pack makes you slower and more tired than day hiking, and you need time and energy to make camp. Use Naismith’s rule plus extra for the pack, then round down. Build up distance as you gain experience.
How far in advance should I book a backpacking permit? For popular, quota-limited areas, as early as the reservation window opens, often several months ahead, and the most coveted permits can sell out within minutes. Less popular areas may offer first-come or self-issued permits at the trailhead. Check the specific area’s system early and have a backup route in case you can’t get the permit.
What should a backpacking trip plan include? Your name and vehicle (and where it’s parked), your exact route and each night’s campsite, your start and expected return times, your group size, and a “call for help by” time with the number to call (usually the managing agency or local sheriff). Leave it with a trusted person not on the trip, and stick to it.
Read offline
The whole book as one PDF — every chapter, every diagram.